
How to add a routed NIC device to a virtual machine
When adding a routed NIC device to an instance, you must configure the instance to use the link-local gateway IPs as default routes.
For containers, this is configured for you automatically.
For virtual machines, the gateways must be configured manually or via a mechanism like cloud-init.
To configure the gateways with cloud-init, firstly initialize an instance:
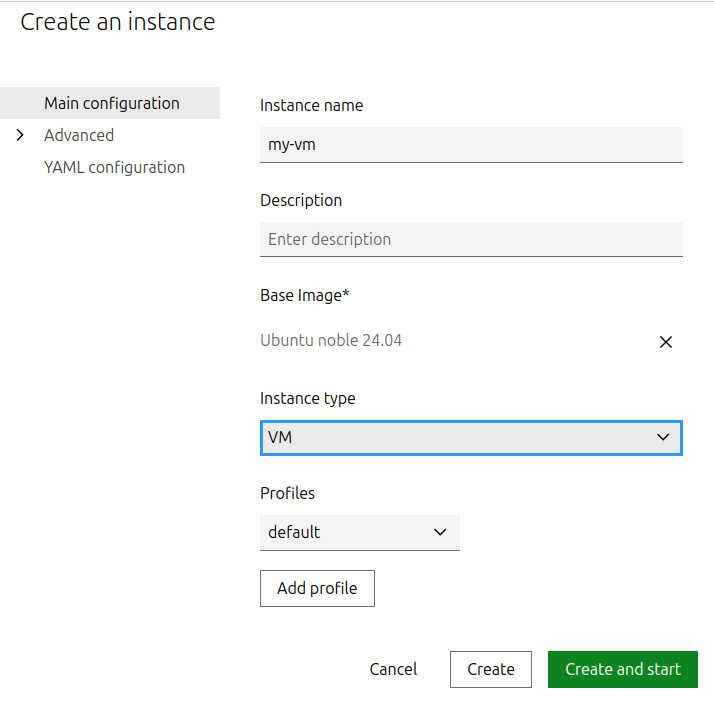
lxc init ubuntu:24.04 my-vm --vm
lxc query --request POST /1.0/instances --data '{
  "name": "my-vm",
  "source": {
    "alias": "24.04",
    "protocol": "simplestreams",
    "server": "https://cloud-images.ubuntu.com/releases",
    "type": "image"
  },
  "type": "virtual-machine"
}'
Then add the routed NIC device:
lxc config device add my-vm eth0 nic nictype=routed parent=my-parent ipv4.address=192.0.2.2 ipv6.address=2001:db8::2
lxc query --request PATCH /1.0/instances/my-vm --data '{
  "devices": {
    "eth0": {
      "ipv4.address": "192.0.2.2",
      "ipv6.address": "2001:db8::2",
      "nictype": "routed",
      "parent": "my-parent",
      "type": "nic"
    }
  }
}'
You cannot add a routed NIC device through the UI directly.
Therefore, go to the instance detail page, switch to the Configuration tab and select YAML configuration.
Then click Edit instance and add the routed NIC device to the devices section.
For example:
devices:
  eth0:
    ipv4.address: 192.0.2.2
    ipv6.address: 2001:db8::2
    nictype: routed
    parent: my-parent
    type: nic
In this configuration, my-parent-network is your parent network, and the IPv4 and IPv6 addresses are within the subnet of the parent.
Next we will add some netplan configuration to the instance using the cloud-init.network-config configuration key:
cat <<EOF | lxc config set my-vm cloud-init.network-config -
network:
  version: 2
  ethernets:
    enp5s0:
      routes:
      - to: default
        via: 169.254.0.1
        on-link: true
      - to: default
        via: fe80::1
        on-link: true
      addresses:
      - 192.0.2.2/32
      - 2001:db8::2/128
EOF
cat > cloud-init.txt <<EOF
network:
  version: 2
  ethernets:
    enp5s0:
      routes:
      - to: default
        via: 169.254.0.1
        on-link: true
      - to: default
        via: fe80::1
        on-link: true
      addresses:
      - 192.0.2.2/32
      - 2001:db8::2/128
EOF

lxc query --request PATCH /1.0/instances/my-vm --data '{
  "config": {
    "cloud-init.network-config": "'"$(awk -v ORS='\\n' '1' cloud-init.txt)"'"
  }
}'
On the instance detail page, switch to the Advanced > Cloud-init tab and click Edit instance.
Click the Create override icon for the Network config and enter the following configuration:
network:
  version: 2
  ethernets:
    enp5s0:
      routes:
      - to: default
        via: 169.254.0.1
        on-link: true
      - to: default
        via: fe80::1
        on-link: true
      addresses:
      - 192.0.2.2/32
      - 2001:db8::2/128
This netplan configuration adds the static link-local next-hop addresses (169.254.0.1 and fe80::1) that are required.
For each of these routes we set on-link to true, which specifies that the route is directly connected to the interface.
We also add the addresses that we configured in our routed NIC device.
For more information on netplan, see their documentation.
Note
This netplan configuration does not include a name server.
To enable DNS within the instance, you must set a valid DNS IP address.
If there is a lxdbr0 network on the host, the name server can be set to that IP instead.
Before you start your instance, make sure that you have configured the parent network to enable proxy ARP/NDP.
Then start your instance:
lxc start my-vm
lxc query --request PUT /1.0/instances/my-vm/state --data '{"action": "start"}'
Go to the instance list or the respective instance and click the Start button (▷).